Doing a hardware refresh on the home network. Luckily, work assigned me a Palo Alto PA-220 to play with, which I got certified as an Admin in a week. Next, I refreshed my virtualization hardware as KVM stopped running on my older boxes a while ago, and I had been running VMs on my gaming rig as a temporary solution. My virts are taking up too much space and it’s starting to get crowded on my PC’s SSD.
So what did I do? Well, I wanted something quiet as the sound of cooling fans running eventually drives the hardiest of us slightly batty. I wanted something that sips power so I can leave the virts running 24/7. After doing a lot of research, I found that a lot of home labbers are using Intel NUCs to run ESXi. Basically, a NUC is a powerhouse computer in a teeny tiny little package. They’re passively cooled, and use little power. The more recent NUCs also run ESXi out of the box. So all I needed to do was decide which hardware platform to get, add in 32Gb of SODIMMs, and a 1Tb M2 card for storage.
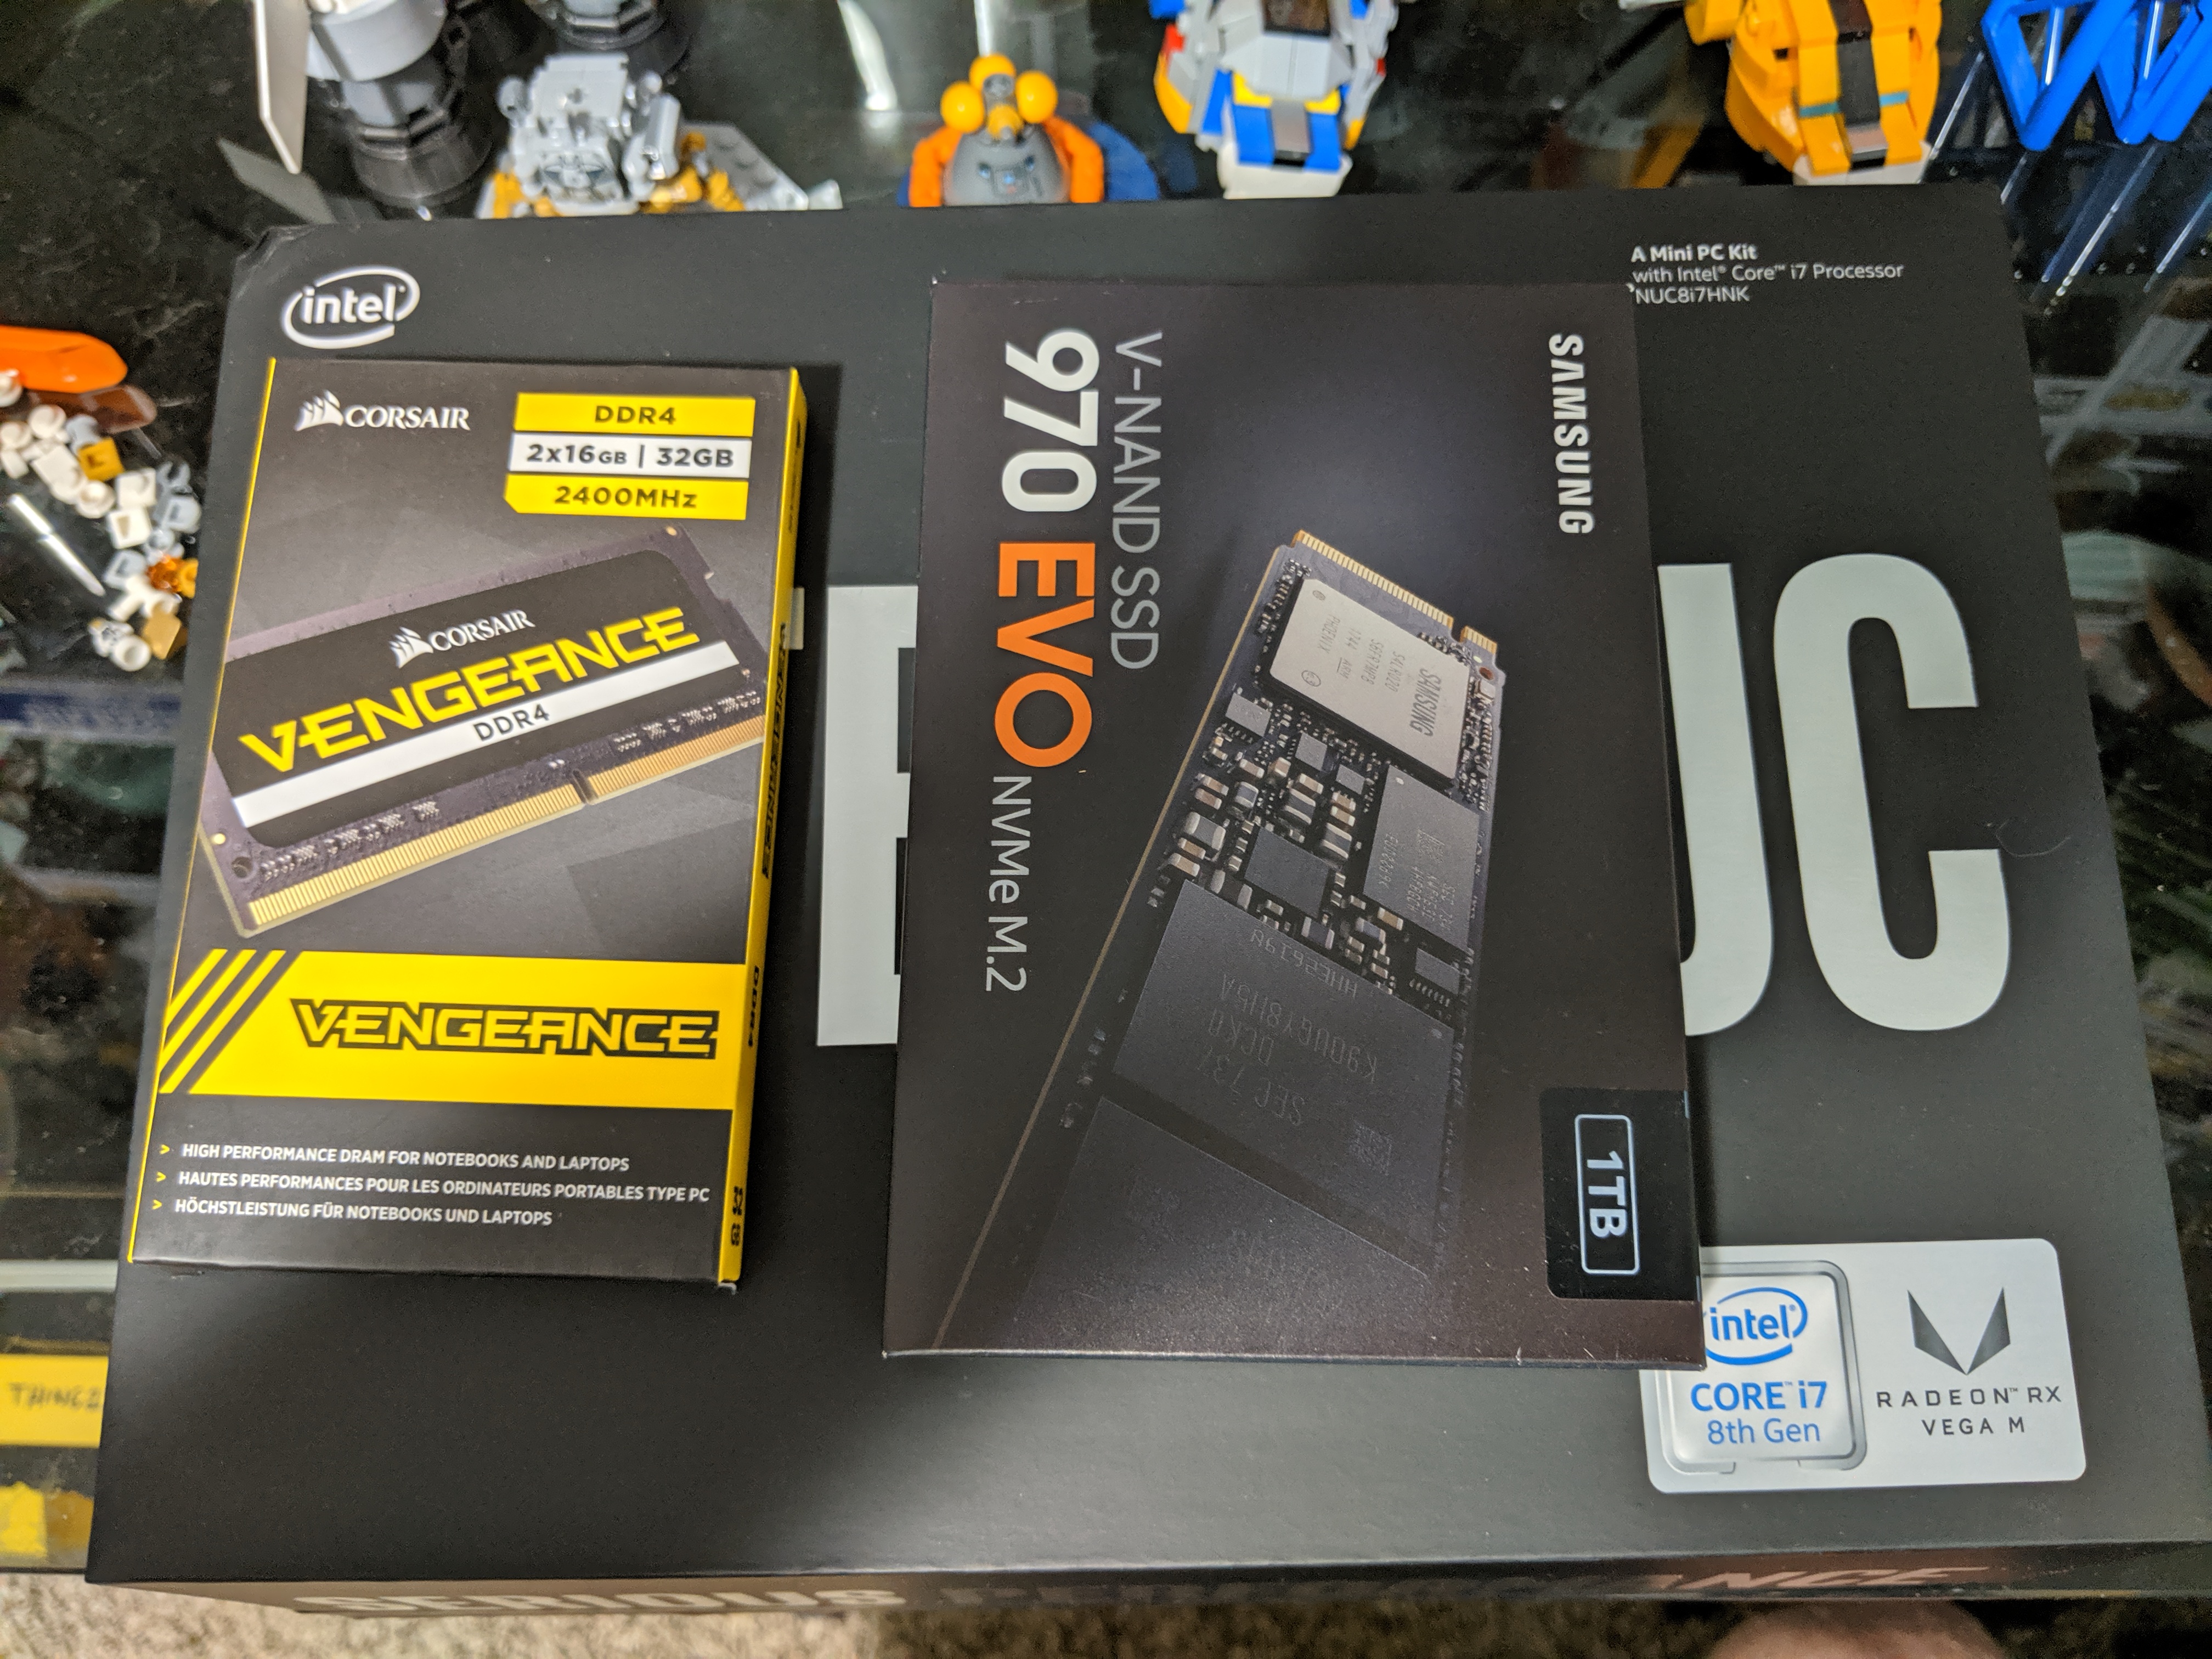
Here is the BOM, and the relevant Amazon links:
- Intel NUC – I chose the NUC8i7HNK as it has a 4-core i7 processor and runs ESXi 6.x out of the box, no updates required or customizing the ESXi installed. Also has 2 gig Ethernet interfaces, so if I start expanding, I can have a dedicated interface for management and storage. Plus the chassis has a glowing skull that you can change the color of in the BIOS, which is metal.
- 32 Gb DDR4 SODIMMs – Intel states that the NUCs top out at 32Gb of RAM but this model and just about all the newer ones actually support 64Gb. But 32Gb SODIMMS are still pricey as the NUCs can only accept 2 banks, so I’m running 32Gb for now
- 1Tb M2 SSD – Internal storage for the ESXi host.
Total cost is about $1k and Amazon can get everything to your mailbox in a couple of days
Installation of the memory and storage is fairly straightforward. Unscrew the six screws holding down the lid with the included Allen key. Remove lid. Disconnect the skull display, and carefully unscrew the screw holding down the chassis cover. I say carefully as this screw has a small Phillips head and Intel used blue Loc-Tite. The screw head strips easily, so make sure you have a screwdriver that fits well. After that’s it’s just slap in the memory and the M2 card. I dig Corsair memory, but did remove the stickers from the SODIMMs as I figured they may interfere with cooling. There’s a post and screw to secure the M2 card to the board, and an additional standoff and screw if you’re using the smaller sized M2. After that, it’s get everything back together and you’re ready to start installing.
The packaging is kind of cool, but I’d gladly go with a less exciting box if it means saving a few dollars. These are supposed to be gaming computers and relatively high-end HTC/media servers.
So now just download the ESXi ISO from VMware, and use Rufus to create a bootable USB key. Plug it in, power up and in about 15 minutes, you’ll have a brand new VMware host running.